Showing posts with label Chicken. Show all posts

Monday, January 17, 2011

The Flattie

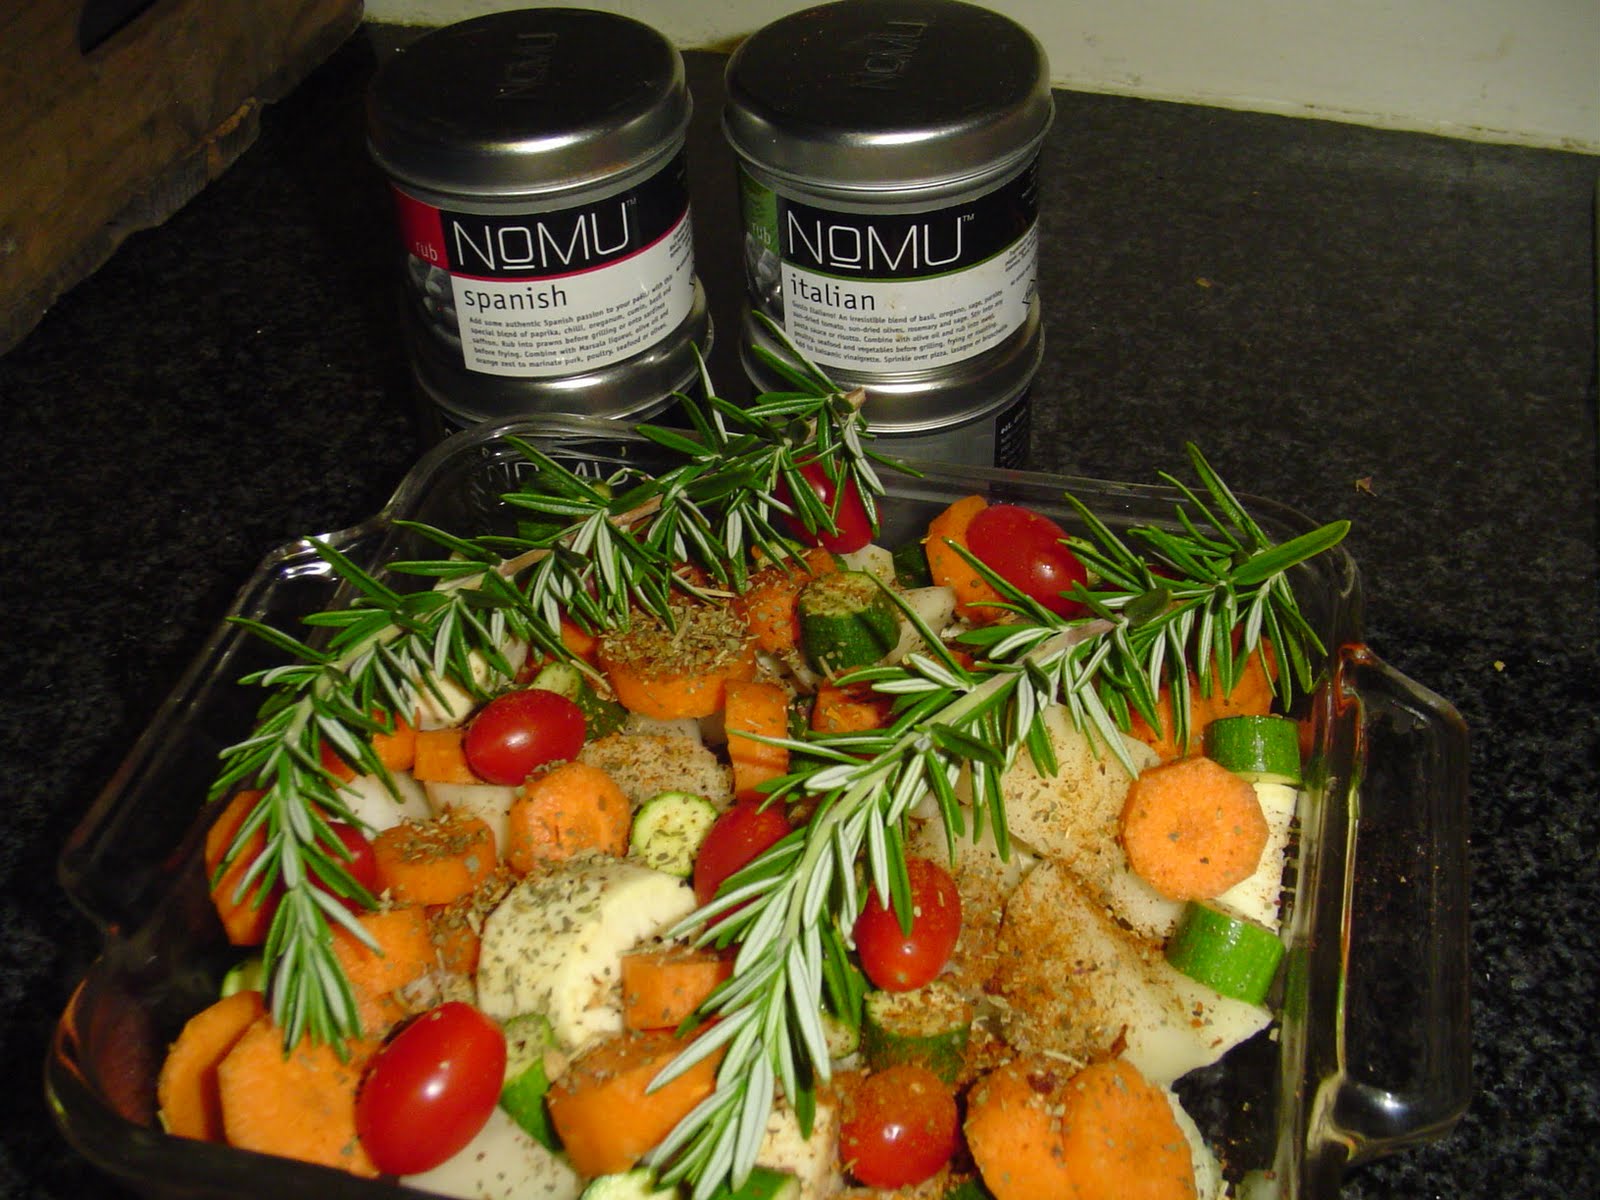
Friday evening instead of the normal braai I decided to one of my old-time favourites again. Actually my mother-in-law requested it and you never say no to your mother-in-law, especially not is she was visiting and had been cooking, cleaning and fetching your child from school for the past two weeks. A "flattie" is just a chicken that is grilled over an open fire, but flattened out. I use the same herbs and spices than what I normal do for my Weber chicken, but this time I just used salt and peri-peri. The reason why I haven't done this for a while is because I don't have the right set-up to keep the chicken approximately 40 cm above the fire. I had to make a plan and this is what I came up with.


On Friday the wind was pumping, so I had to find a spot which was a bit more protected from the wind. I have such a spot in my garden where I keep some braai wood and other garden utensils. It work fine.


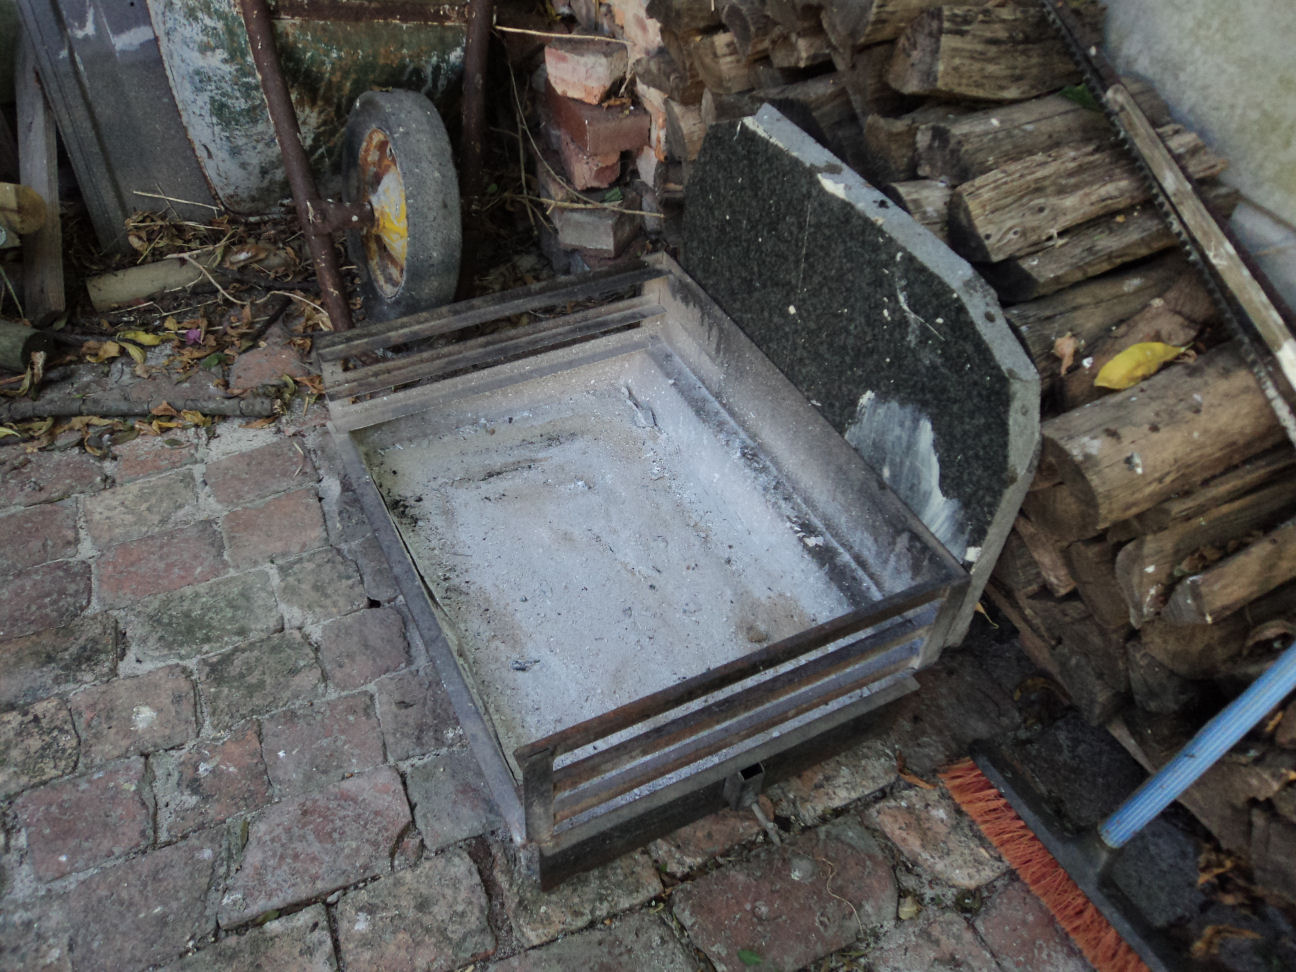
Because I didn't want to make fire on the brick paving, I used my normal braai without the legs and put that on the ground. The idea is to create a little oven, so a piece of marble that was already standing there (remnants from when we redid our kitchen) was used for the back wall of the oven.


On the sides I used some left over roof tiles. Unfortunately I had nothing to put in the front, but on windless days that is not a problem. The heat will not escape. This was a windy day and I would only later find out that my fire was burning out too fast. I solved that problem with planks and extra briquettes.


Preparing the chicken is easy. Cut it open and cover it with salt and peri-peri to taste. I used to cut it open through the breast, but my wife the cook said it is easier through the back. Whatever you prefer, in the end it tastes the same, just looks a bit different. She however claims that the chicken stays more juicy if you make the cut through the back with less flesh, so I didn't argue...she still had the knife in her hand.


I made the fire with briquettes. The briquettes lasts longer than wood and charcoal, and seeing that the chicken cooks for 90 minutes or more, it is better to use the briquettes. Once the fire is ready I flattened it the coals and was ready to put the chicken on. If you find that the coals are burning out before your chicken is done, just add a few more briquettes on the fire, they will soon join in and keep the party going.


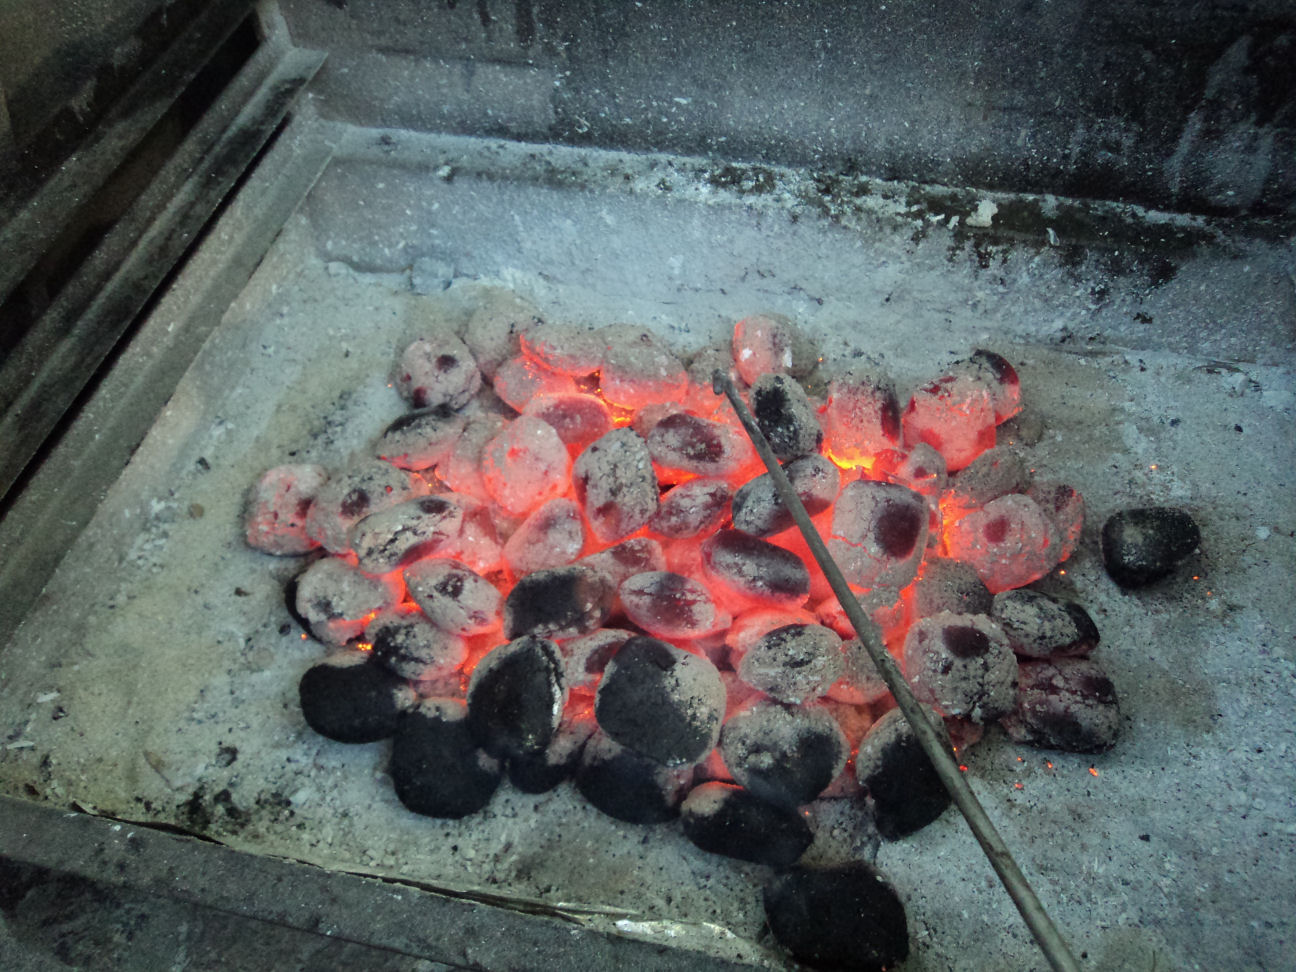
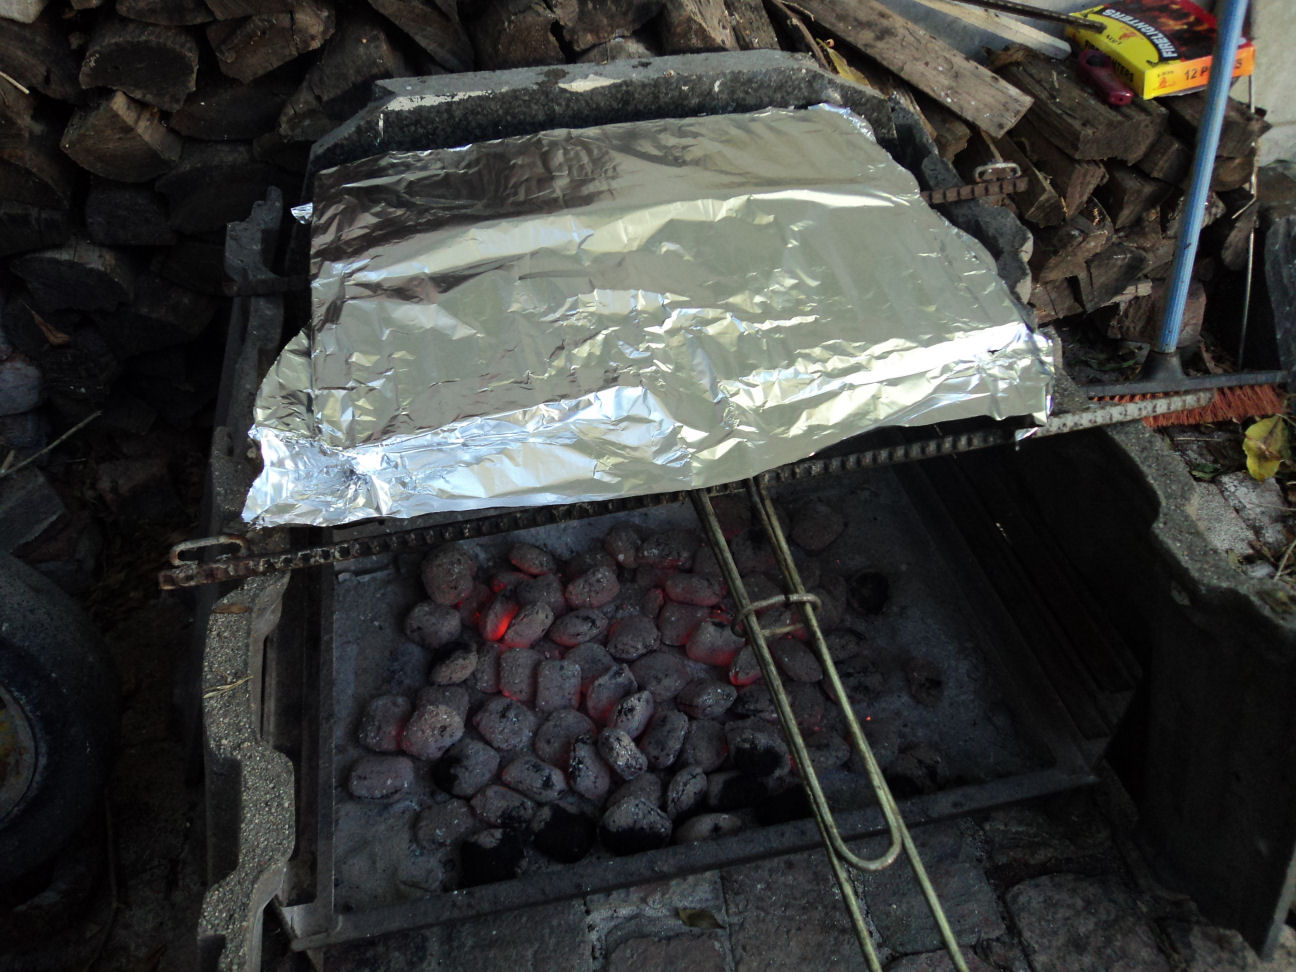
When you put the chicken on, make sure it is the inside of the chicken that is facing the fire. The chicken will cook through from this side and when you can see on the outside that the flesh is changing colour, you can just turn it around to grill the skin which gives it that good colour and taste. Cover the top of the chicken with tinfoil, this will help with the cooking and prevent heat loss. You can leave the chicken now and return an hour later if you wish, but what's the fun in that? I come and check regularly to see if the coals are still fine and to smell a delicious meal in progress.


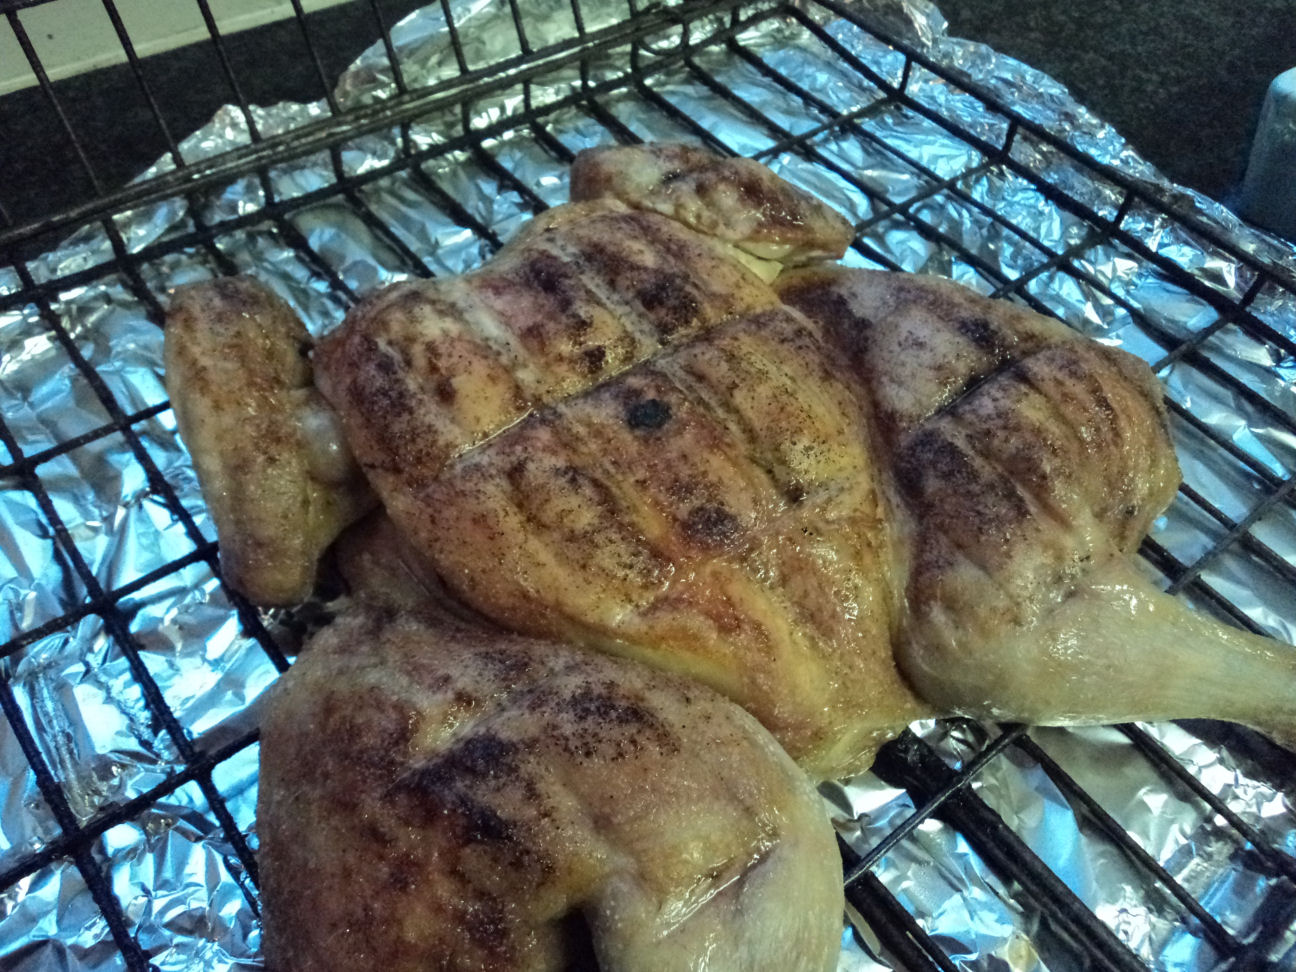
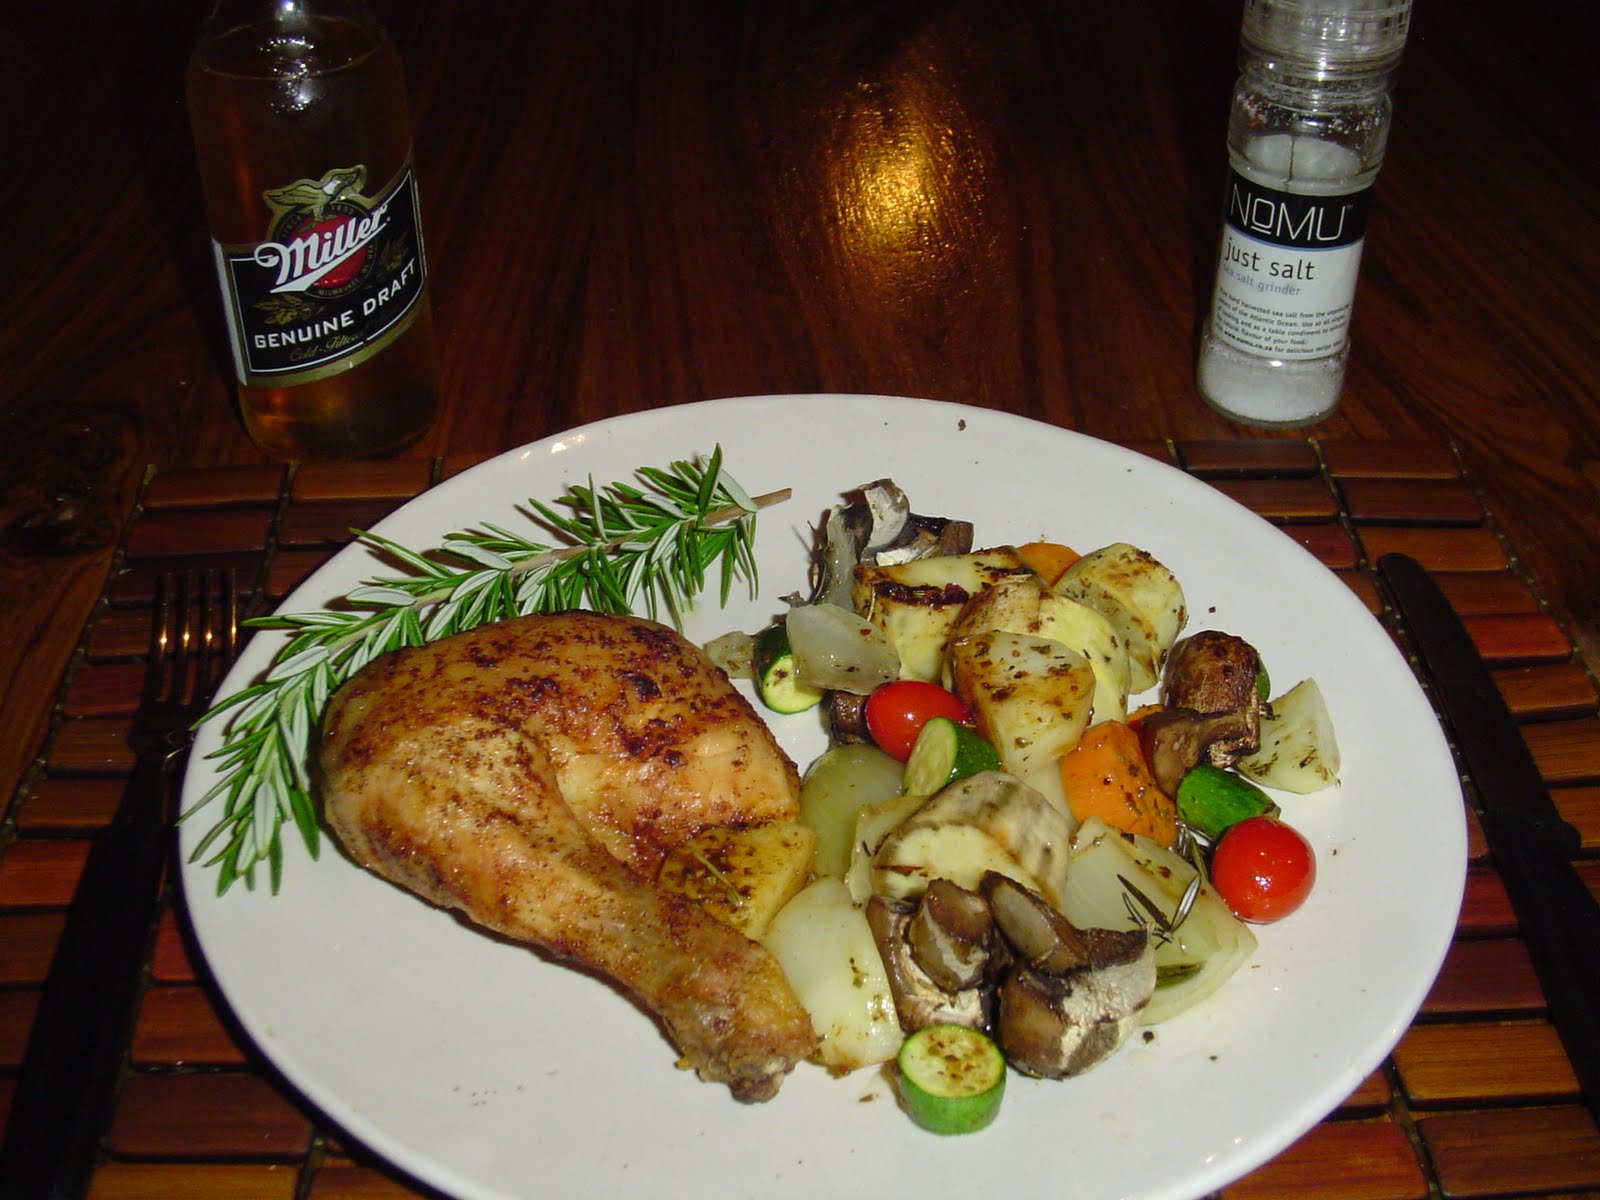
Voila! The final product.

Tuesday, November 17, 2009

Check out the chicken

My plan is not to change my blog into a cooking blog. But, I am still a semi-batchelor and my stomach still needs feeding. And just to show you that I am not biased in any way in my opinion on who makes the best outdoor cooking apparatus I have decided to give you one of my other famous recipes done on a grill designed by the Yanks themselves...the Weber grill. Give them some credit, they did make it to the moon first (or so they claim). When I received the Weber grill for my birthday a couple of years ago it was like a slap in the face, but I have given it a try (like I do with most things before I just bluntly shoot it down) and it turned me into the best chicken griller of the Western Cape. Like with my braai I like to keep the recipes simple. After all, you want to taste the meat, not just herbs and spices.

It's obvious enought that in this case you need a Weber grill and like it or not, but charcoal is the best heat source for this. I prefer free range chickens. Note, the chicken you ran over on your way from work (common in South Africa) was not free range, it was free roaming. But even this chicken will do. In this case I usually prefer to make what I call a "flattie". Will show you later how that one is done...


So to keep it basic all you do is to make a simple oil based basting sauce which contains olive oil, salt and pepper, a few drops of lazenby's Worcestershire sauce and then the main ingredient...peri-peri. Mix it and body paint the chicken from head(less) to toe(less). Make sure to paint under the wings and between the legs as well. If there is still some sauce left, I do the inside of the chicken wall-to-wall as well. When the coals are ready I place the chicken on the grill, put the lid on and Bob's your uncle. Leave it there for about 60 -90 minutes depending on the size of the chicken. Don't be too curious as to what's going on inside the Weber. Every time you open the lid you loose a lot of heat.


While waiting for this I also did a simple and basic roasted veggies. Last night I had potatoes, baby marrows, sweet patatoes, carrots, onions, mushrooms and some cocktail tomatoes just for colour. (The rosemary leaves were just for decorating purposes like on real cooking blogs). My selection of veggies depends on what's available in the refrigerator and not on how the combination might compliment each other. You can add anything you like. This I cover with NoMu's Spanish and Italian rub. Use any herbs and spices that you have in your kitchen. Pop it in the oven under the grill and wait until everything is soft...especially the potatoes.


And as they say "The proof of the pudding is in the eating".  A delicious meal very basic and simple. Oh, and just to prove that I do try everything I enjoyed my meal with another American brand, a Miller Genuine Draft. Bon Apetite.